Growing microgreens is a great way to have fresh greens during winter. But don’t limit them to cold weather, they’re delicious and nutritious all year long!
I’ve been growing microgreens here for a few weeks to keep myself sane. The songbirds have returned to Ohio and the fishing worms are popping up on the driveway. It won’t be long now before I’m back outside, but until then I’ll have something fresh and green to eat.
Growing Microgreens is Simple and Accessible
Our farm education is focused on giving everyone a chance to raise their food and medicine, regardless of where they live. In truth, the thought that you can do this, even living in an apartment with no balcony, often comes as a surprise. However, it is true!
Growing microgreens in pots on windowsills or under lights may be the first option that comes to mind. It’s a good one, but not the only way to get fresh greens. Throughout the winter we keep our tropical medicinals in pots here in the house. They go outside as soon as spring weather permits though because we have access to a large deck. These plants would otherwise not be successful in Ohio winters and we would not be able to harvest from them.
As I write this, there are delicious, green leaves on my lemon verbena plant that will soon make its way outside. It may seem to some that this show of green should be enough to fight off the Spring fever I am feeling, but they would be wrong!
Right now (if you love gardening and live in the northern U.S.) you’re likely looking forward to getting your hands in the dirt. I live in zone 6a, which means I won’t be able to plant anything out until the last week of May. Starting seeds indoors is a great first step to fighting this feeling, but I can’t start seeds for another couple weeks.
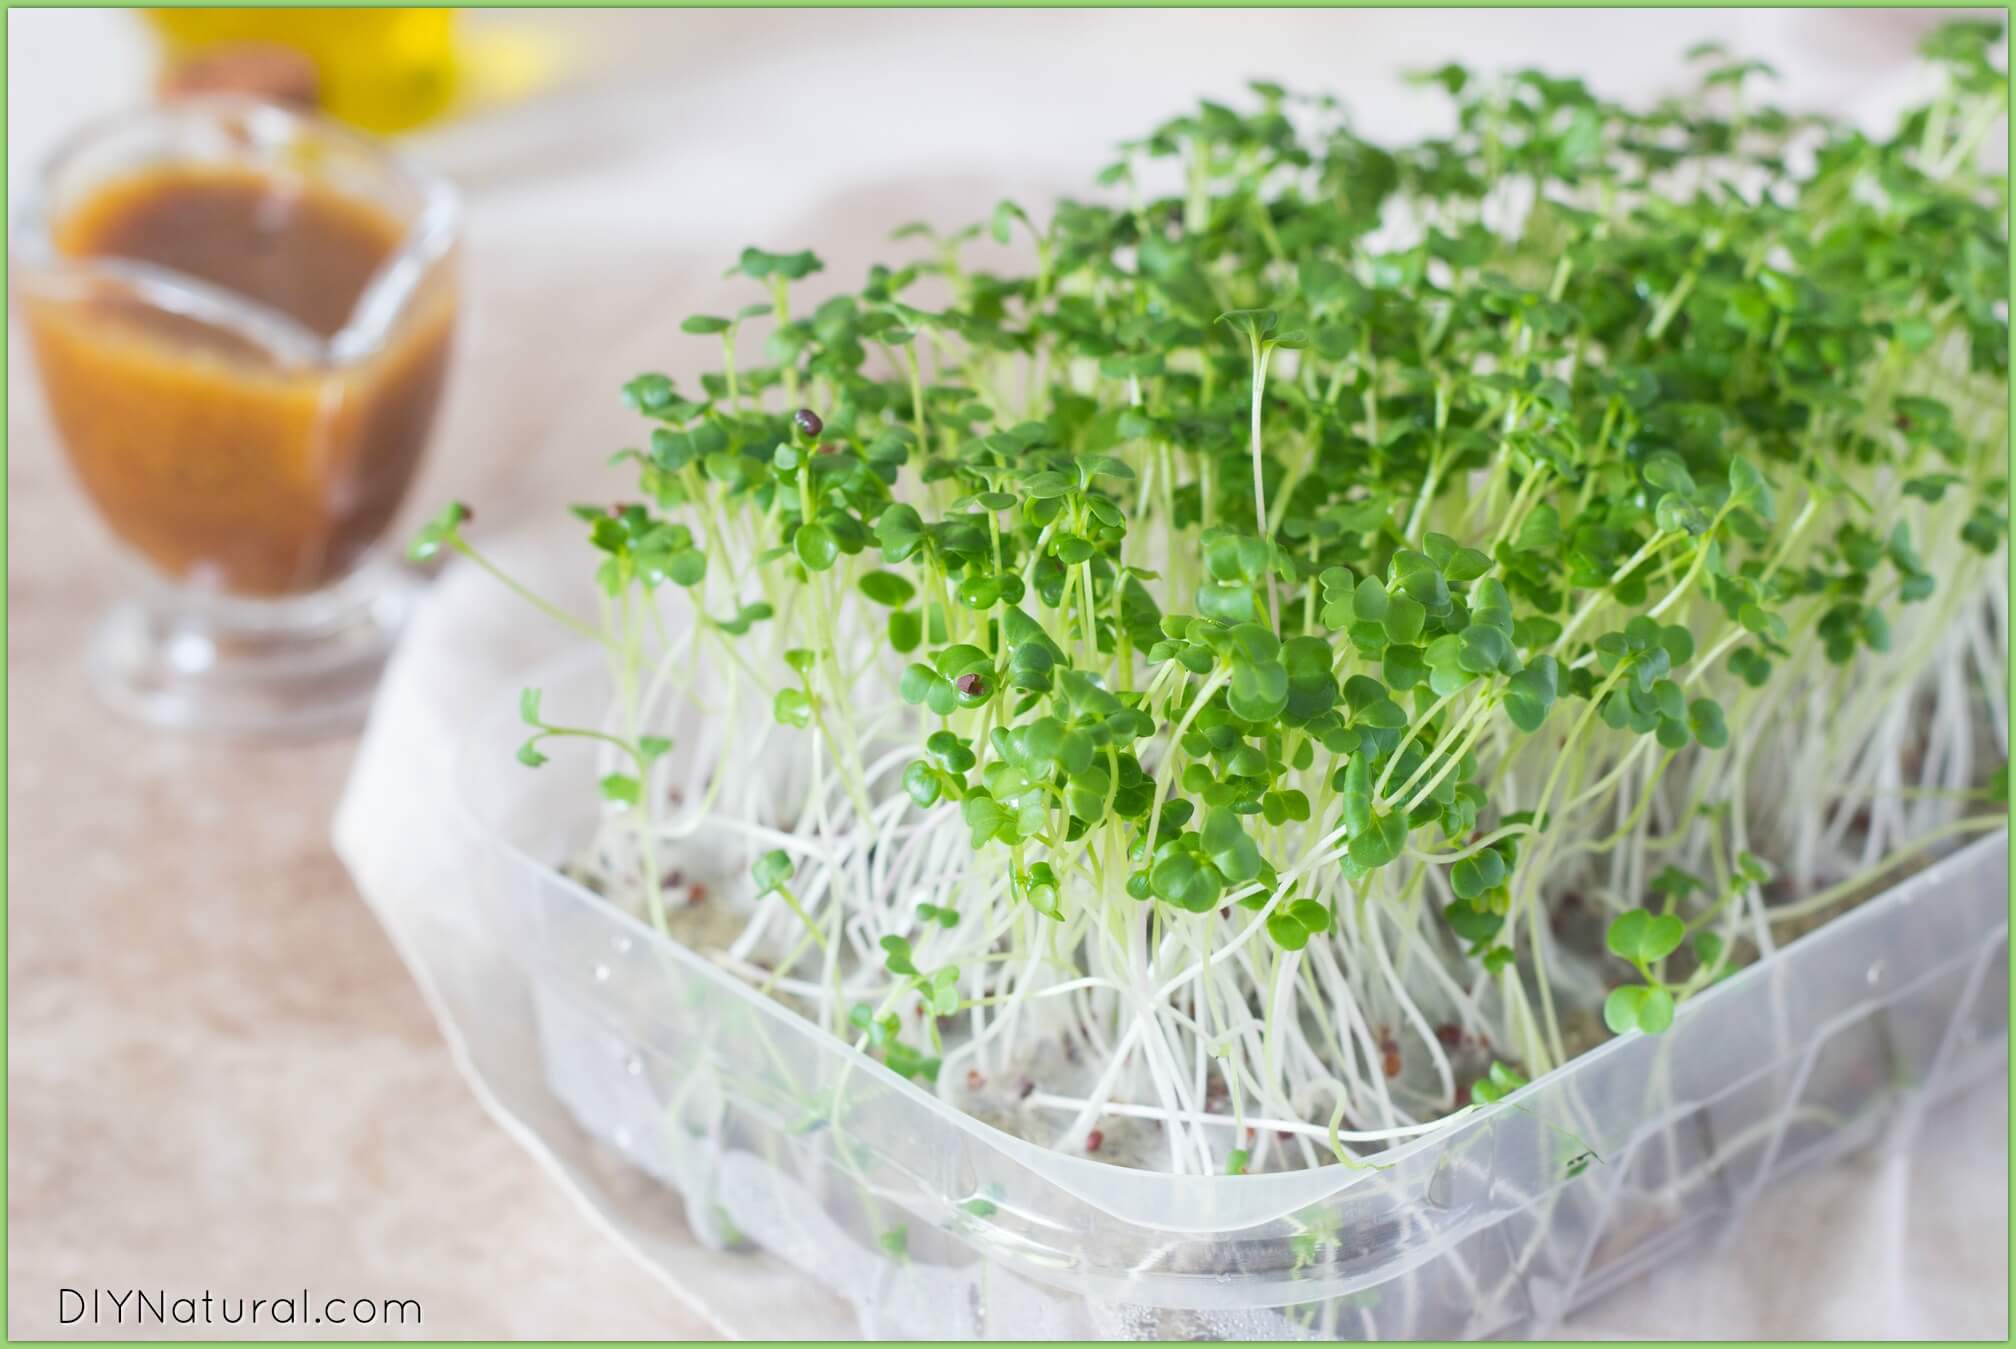
Growing Microgreens in Winter
The same solution that I would recommend to the apartment dweller with no balcony can be used for the frustrated farmer. Microgreens can be grown indoors, regardless of small space or time of year.
Benefits of Microgreens
1. Growing microgreens can be done in takeaway containers or veggie packs from the grocery, so you don’t need special equipment.
2. They provide you with fresh, green veggies at any time.
3. Microgreens are packed with nutrition. In fact, a study was done recently to prove that because of their small size they pack in more nutrition than their fully-grown counterparts.
4. They do not take special skills to grow.
Growing Microgreens: A Tutorial
1. To start growing microgreens, choose a shallow container from the grocery or take-out restaurant and clean it up. If it doesn’t have any holes, punch a few with the end of a sharp knife for drainage.
2. Fill the container with an inch of moistened soil. This can be seed starting soil from the garden center or a soil-less mixture such as a coir brick.
3. Scatter your seed across the top of the soil. They should be fairly close together, about ⅛ – ¼ inch apart. Some common beginner seeds for growing microgreens include broccoli, lettuce, radish, pea, mustard, and beets.
4. Cover with a thin layer of soil and push down to make good contact between the seeds and soil. Water with a clean spray bottle. Be sure to choose water that does not contain chlorine or heavy salts. Springwater from the store can be a good choice in this case.
5. Place in a window with strong southern exposure, or place under lights. Keep them moist but don’t drown them.
6. When your microgreens have grown 10-15 days, and/or have produced their first set of leaves, they are ready to harvest. Take a pair of scissors and cut the plant off just above the soil level.
7. Wash and enjoy it!
Are you growing microgreens or growing sprouts? Share your experience with us!
*******
Grow Microgreens: A Treat for Frustrated Gardeners was written by Dawn Combs.
* This article was originally published here
No comments:
Post a Comment